Getting Started
Welcome!
Thank you for joining Unprint.
This short guide will help you to process and sort your first documents in your new Unprint environment.
Starting your new environment
Start-up email
Once your subscription completed, your new Unprint environment is immediately generated. As soon as it is ready, you receive an email with the start instructions.
In this email, click on the “Go to my site” button.

Initial settings
The aforementioned link directly sends you to a welcome page, allowing you to check a few settings. You may be prompted to sign in again.


In the user interface settings:
- Check your time zone. It allows us to assign a correct processing timestamp to your documents.
- Check the interface language. Unprint is currently available in English and French, additional languages should be proposed soon.


In the document language settings :
- Select the language or languages most used in your documents. You can choose up to three among twenty of them.
Click on “Save”: your new Unprint site is ready!
- You are now redirected on the home page of your site: the Dashboard.
- Take note of the address of your site: your_domain@unprint.app. It will allow you to directly access your site without having to load the Unprint homepage first.
Upload your first documents
Upload page

Locate the menu bar on the left side of your screen. On smaller devices you might need to tap on the “Menu” button to make it visible.
Click now on the “Upload” button.
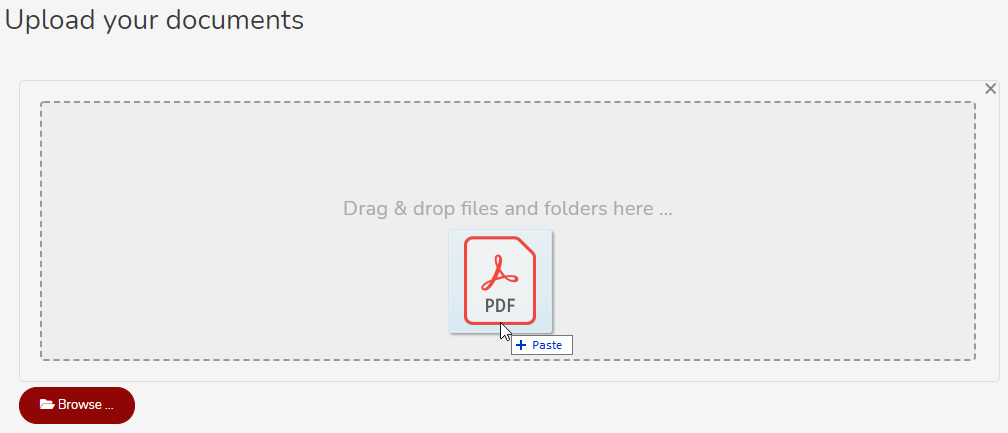
The document upload tool is now open. Documents can be uploaded by dragging and dropping them in the dotted area. Folders and archive files can also be provided.
Alternatively the “Browse” button will open a file picker.
The upload of the selected files starts immediately.

Unprint supports many files formats. Please refer to the User Guide for more information.
Email upload
Unprint creates a new email address each time a new user environment is activated, with the format: yourdomain@unprint.app.
Your Unprint email address is provided in the email you received when activating your account. You will also find it the user menu (click on your name or initials in the upper right corner of the screen, then “My settings”).
Take a short break
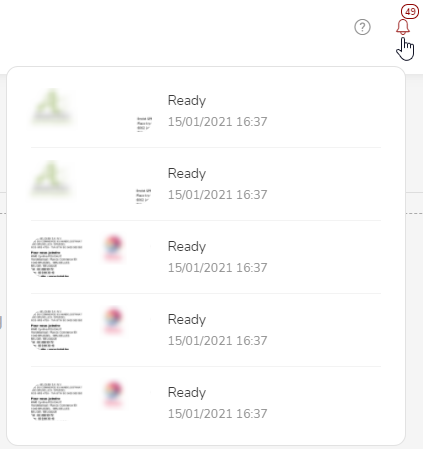

Once uploaded your files are processed immediately. According to the document type this processing time can take from a few seconds to a few minutes. A notification will be sent as soon as your documents will be available in Unprint.
The notification area is symbolized by a small bell at the top right of the screen.
Inbox
Please now click on the “Inbox” button in the application menu on the left side. A list appears, showing your recently imported documents.
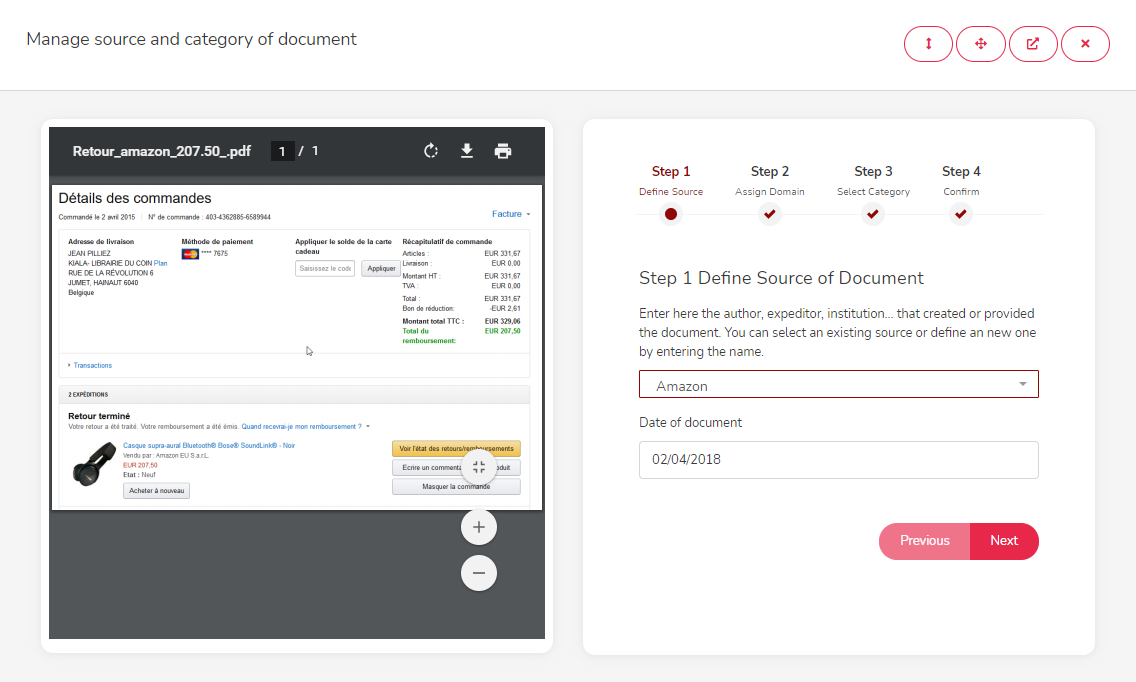
An “unprint” button is available on each document item. When you click on it a wizard is prompted. Please provide:
- The Source of the document: the person or organization who/which created or issued the document. You have to select an existing one or create a new one.
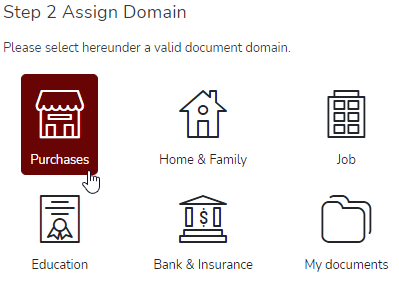
- A Domain, by clicking on one of the proposed icon.
- A Category, by clicking as well on the corresponding icon.


The domains and categories allow you to file your documents very quickly and intuitively. When unsure, generic choices are proposed such as “My Documents” in the Home & Family edition. This categorization remains editable at any time and does not have any effect on the performances of the search engine.

That's all! Your document is now filed in Unprint.
Finding a document
Search engine
The search engine allows you to quickly retrieve documents from a few keywords from their content.
The search engine is also accessible at any time by typing a few keywords in the “Search…” field of the top banner of the interface.

“Documents” Menu
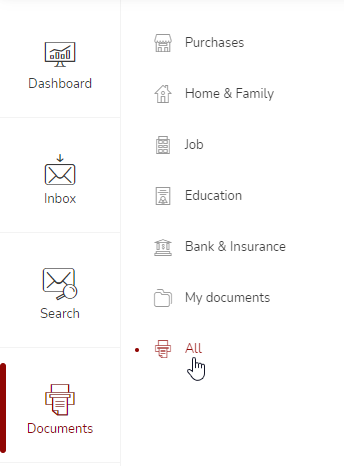
The “Documents” menu allows you to retrieve your documents by domains. Many additional filter options are then proposed.
The retrieved documents can be displayed at any time by clicking on the magnifier in the result list.


A wizard is then prompted, allowing you to view the document and possibly to download or print it.
